Organiser Agent | Undress Agent | Restock Agent |Buy Agent | Sell Agent |Scavenger Agent | Remove Items
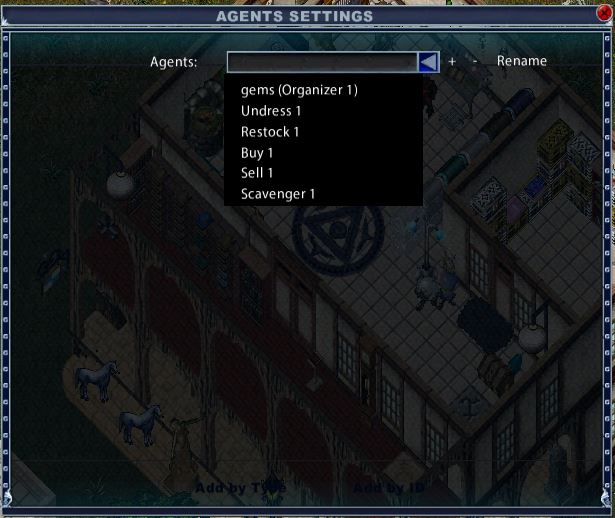
Accessed from the user settings menu the Agents Setting offers a variety of ways to organise your play. The picture below shows the drop down list of available agents.
It is also possible to create a macro to open this menu by using the ‘command’ action from the ‘other’ menu in the actions list. In the command box add this line, exactly as it appears below:
script MainMenuWindow.OnToggleAgentsSettings()
Agent – Organiser
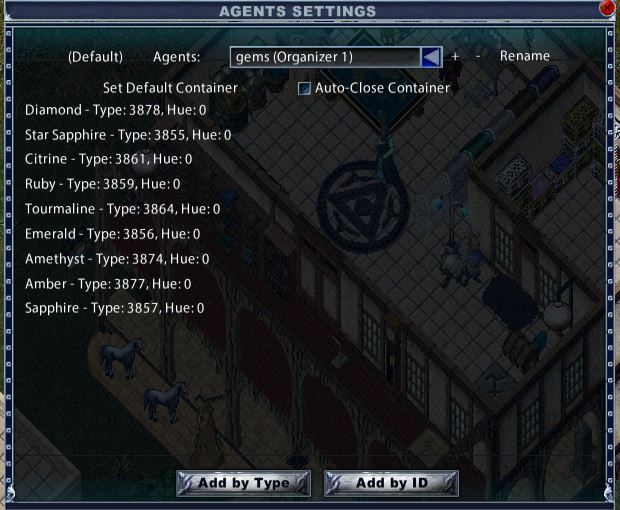
This agent can be used to transfer selected items to a designated container. It is possible to set a default container, if none is set you will get a targeting cursor to select a container when the agent is activated.
In the example below the agent has been renamed ‘gems’. Items were added to the list by using the ‘add by type’ button, which gives a targeting cursor allowing you to target the item type you wish to add. This agent has been used to extract gems from hidden boxes in Exodus dungeon or from chests fished up from the sea. More agents can be added as required using the + button, or removed using the – button. It is also possible to set the container you are extracting items from to be auto closed.
The agent is activated from the chest icon on the pack/box/corpse containing the items you wish to move.
Agent – Undress
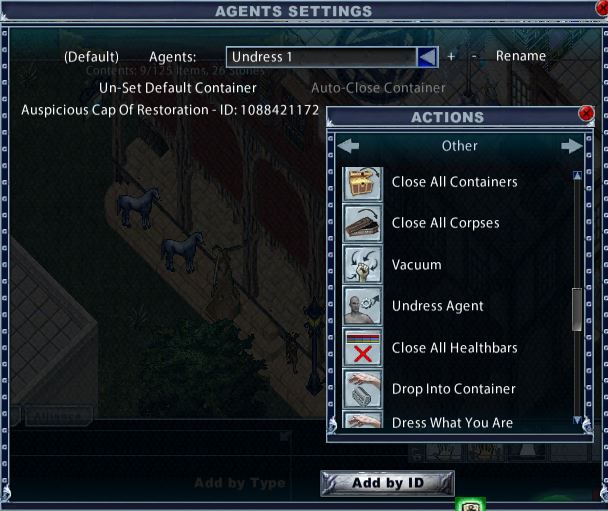
This agent allows you to undress specified items, into a designated container. In the example below the character’s hat was undressed into a chest in her house. The agent is triggered by an ‘undress agent’ icon found in the actions menu under ‘other’. Place this icon in a hotbar or macro.
Agent – Restock
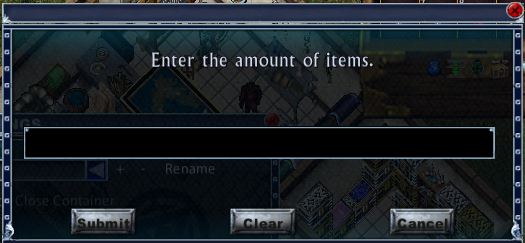
This agent is especially useful to scribes and alchemists. It allows resources to be moved between containers in specified amounts. Using the ‘add by type’ button will give a targeting cursor. On targeting the item, you will be prompted to give a quantity.
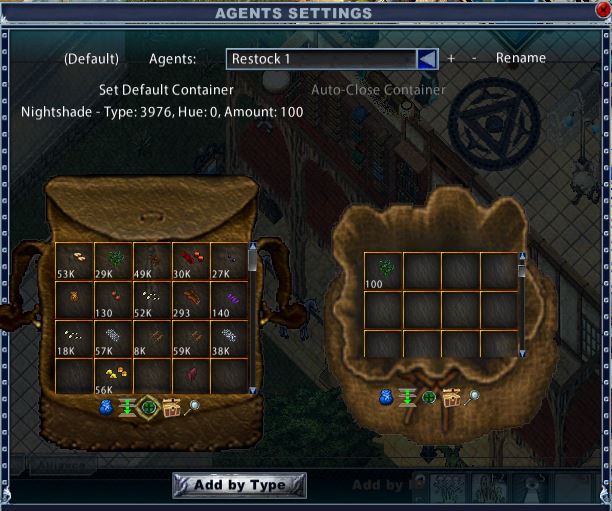
In the example below 100 nightshade were restocked from the backpack to the round bag. The destination container can be set as a default. If no default is set a targeting cursor allows you to designate the container to restock to. To trigger this agent use the restock button, the double headed green arrow, on the source container.
Hot Tip
A less obvious use of this agent is to feed your pet! For a greater dragon set is as follows:- add by type – target a stack of raw ribs or other appropriate meat in your backpack, set the quantity to 1, set default container – click the cursor on your pet. A single click on the restock agent button will now feed your pet one piece of meat from your stack should he lose loyalty in the middle of a battle, provided of course that you have a stack of the correct food in your backpack.
Agent – Buy
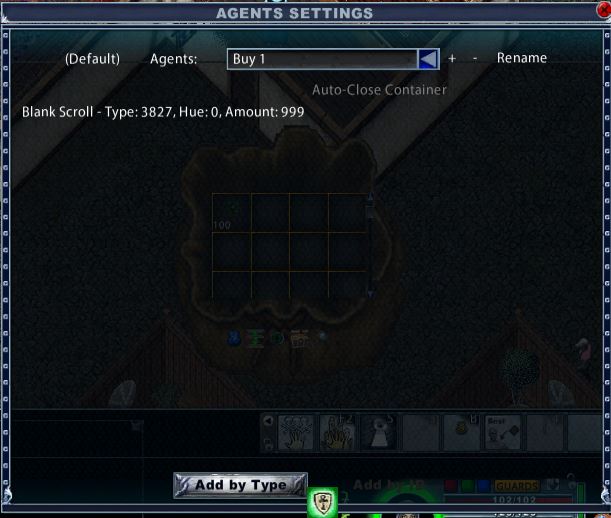
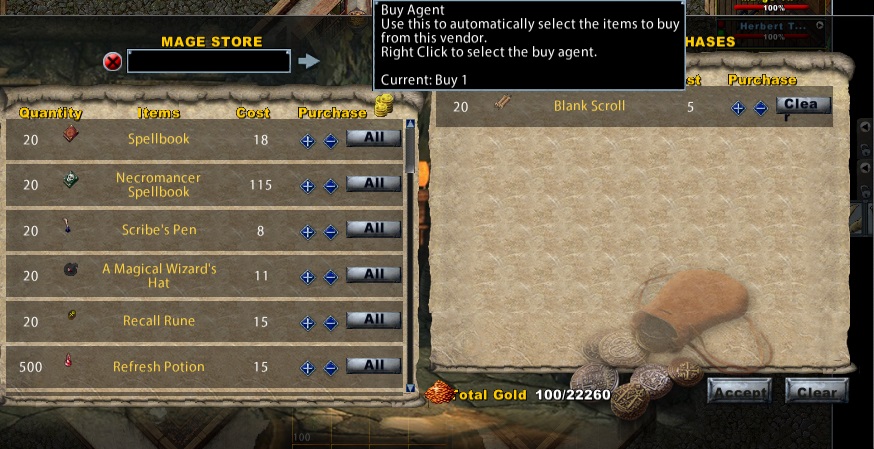
Is there something you regularly buy from NPC shops? If you don’t want to scroll through their menu, use the ‘buy’ agent.
You will need an example of the item you wish to buy. Use ‘add by type’ to add the item to the list. As with the restock agent you will be prompted for a quantity. If the NPC doesn’t have that quantity available he will merely sell you his entire stock. The agent is triggered by an icon top right on the vendor’s menu.
Agent – Sell
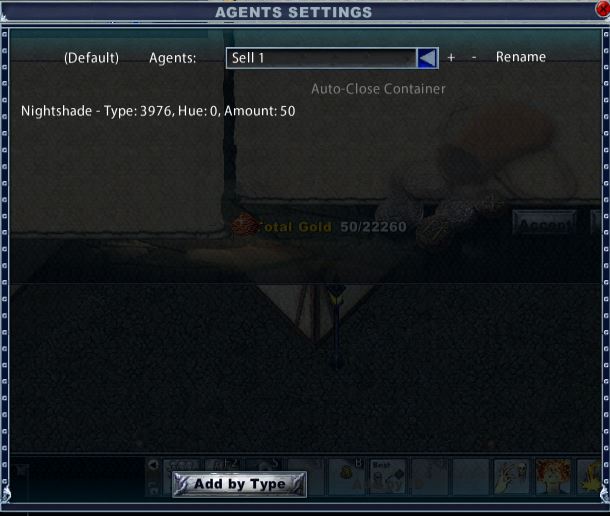
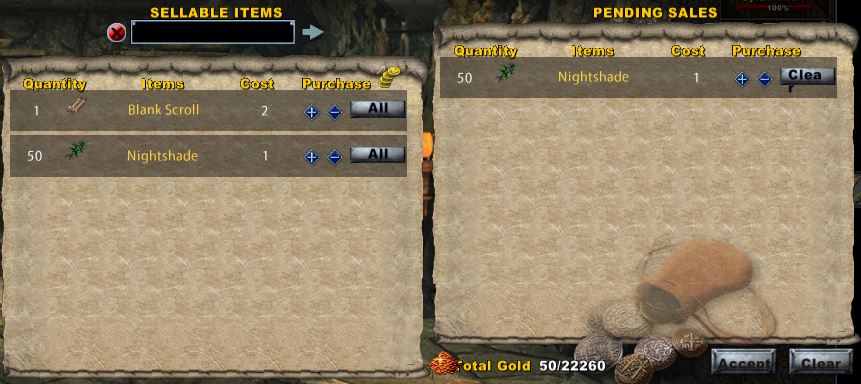
In similar fashion to the ‘buy’ agent, if you regularly sell items to NPC vendors, you may wish to avoid scrolling through your backpack, as listed by the NPC, to select the correct items, also to avoid mistakenly selling items you wish to keep. Add by type from your inventory, and when prompted type in a quantity. In the example below the agent will sell some, but not all, of the 100 nightshade acquired by use of the restock agent above. The agent is activated by a button top right on the Vendor’s menu, as in the buy agent.
Agent – Scavenger
The scavenger agent picks up items found on the ground. Most notably this would be used for reagents or for the gold drop at a champion spawn, some events may also call for items to be picked up, pumpkins at Halloween for example.
Add by type from your backpack, no quantity required this time. The agent is triggered by use of the ‘ctrl + shift’ object handles and will pick up any item in its list that is within range.
Removing Items
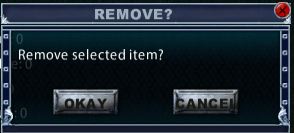
To remove an item simply click on it. For the Organiser, Undress and Scavenger agents a dialogue box allowing this opens. For the Restock, Buy and Sell agents there is also an option to edit the quantity. Choosing ‘Edit’ opens the same quantity dialogue box as was used when adding the items.

