
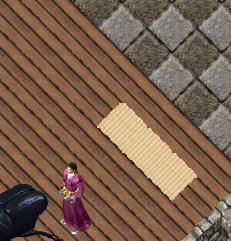
For those who have not come across this phenomenon, splitting deeded add ons has been possible for some time, this is a single example but can be adapted in several different ways. This example uses the 3 tile add on, the hardwood table
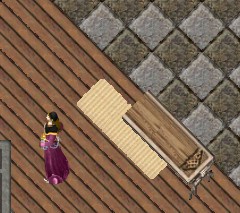
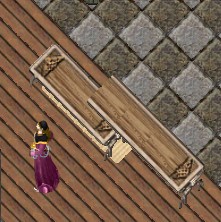
Step one. Place 3 square goza mats at the east (or south) end of the proposed item and raise them with the decorator tool 5 clicks. Place your first table, targeting the western, left, goza on top of the raised gozas. Target the left goza and lower it 2 clicks, breaking the table.
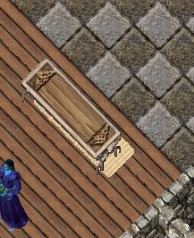

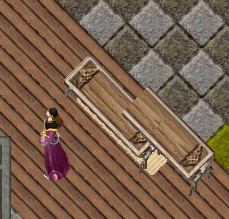
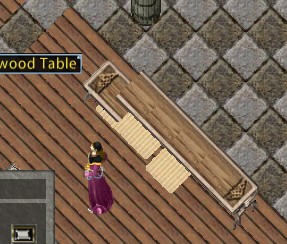
Use an axe to chop the left piece, then use the decor tool to raise the two remaining pieces as high as they will go. You want to keep them but they will prevent further additions unless raised out of the way. Now that the remaining pieces are a distance from the gozas, chop the right hand goza and place it at the left hand edge. Adjust all 3 gozas until they are 5 clicks from bottom. Place the next hardwood table on the left goza.

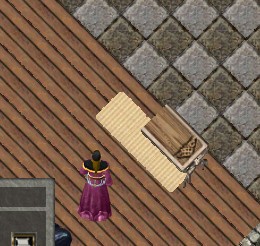

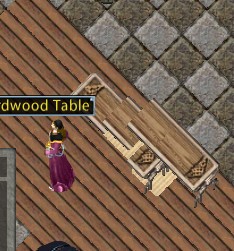
Lower the right and left gozas 2 clicks, chop the left and right pieces of the table. Raise the center piece as far as it will go. Chop the right hand goza and place it on the left. Raise the gozas back up to 5 clicks and place the next table.
Again drop and chop the two ends, raise the middle and move the right hand goza to the left, raise the gozas back up. Place the final table.
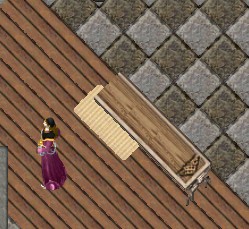
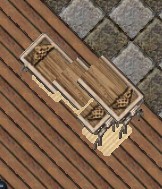
This time lower the right end only and chop it. Raise the middle and left pieces up. You can now remove all the goza mats. Place your chosen armoire type below (maple in this example) secure them and turn if needed.
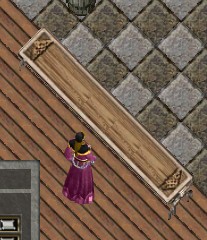
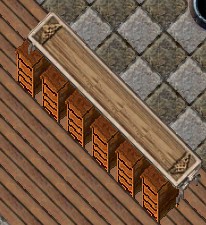
Finally, lower the table pieces down to sit on top of the armoire.
